¶ Re-Enroll
¶ Overview
In the Admin Portal, the Re-Enroll feature can be found in the Student module.
In the Public Portal, the Re-Enroll feature can be found on the left hand panel.
¶ Admin Portal
As an Administrator, the user is able to customize the feature as they require.
To configure the Re-Enroll feature, see Set-Up Re-Enroll for details.
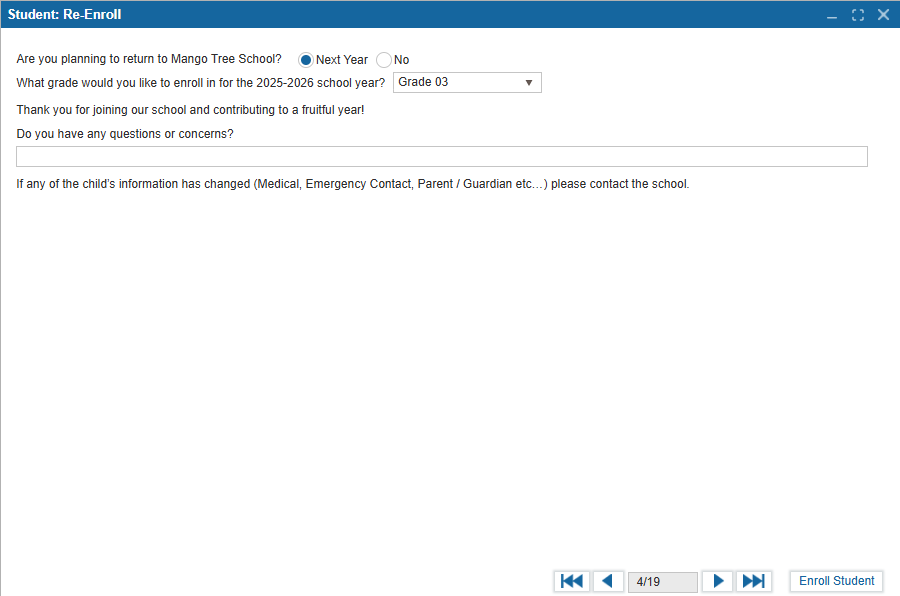
To Re-Enroll a student,
- Select the student you would like to re-enroll or withdraw for the next school year.
- Open the Re-Enroll feature.
- Select Next Year to re-enroll or No to remove them from the next school year.
- If No is selected, all following questions and text are removed. Select Withdraw Student to submit this form.
- If Next Year is selected, choose the next grade from the dropdown menu.
- Answer additional questions from the school, if any.
- Select Enroll Student to submit this form. Note that an enrollment record will only be created once the Year End rollover is complete.
Using Re-Enroll corresponds to the Administration: Year End and Office: Re-Enroll Summary features. See these pages for further details.
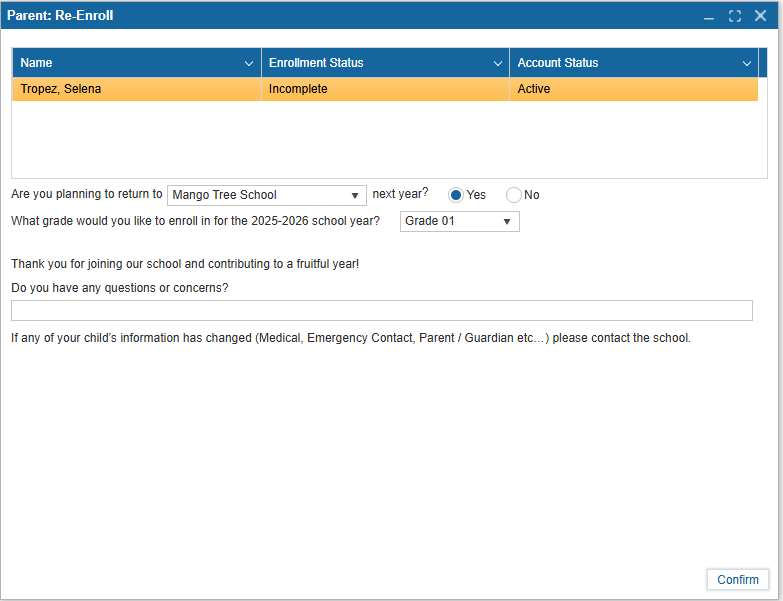
¶ Public Portal
If Re-Enroll is enabled and within the correct date range specified in Set-Up Re-Enroll, it will appear as shown below in the Public Portal. If “No” is selected for the first question, all following questions and text are removed.
To Re-Enroll a student,
- Select the student and school they currently attend.
- Select Yes to re-enroll or No to withdraw them from the next school year.
- If No, a pop up will appear stating the student is withdrawn.
- If Yes, select the next grade from the dropdown menu.
- Answer additional questions, if any.
- Select Confirm to submit this form.